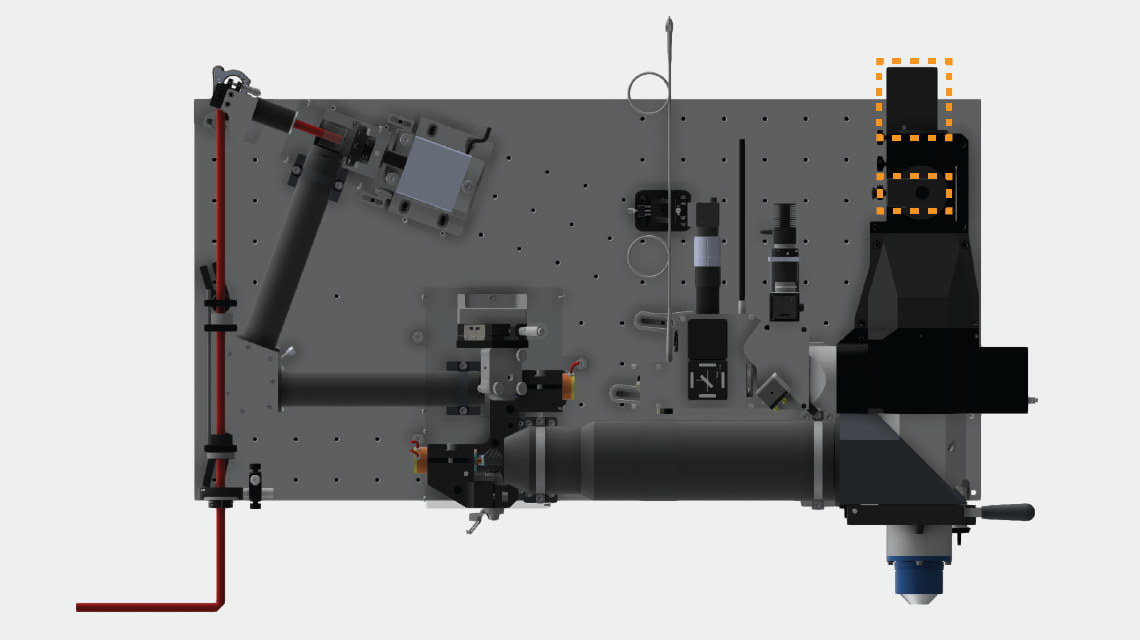
Model labels: DetChannelAssby:1, DetChannelAssby:2
Assembly instructions
Oil method
...
...
Alternate assembly technique, using UV cure, optical adhesive
(This technique has not yet been tried at Janelia. It would be wise to test the detection efficiency of your PMT before and after the procedure. The Hamamatsu factory has confirmed that "they do not expect the photocathode to be damaged by the UV light")
Place a few drops of UV cure adhesive to the plano face of the PMT condenser lens. Norland 61 or 81 may work OK. A more viscous adhesive such as Norland 63, 65, or 68 would be a better choice, as it would stay in the proper location better, and be a little more flexible once cured (perhaps making disassembly easier).
Insert condenser lens into PMT, check that UV cure adhesive fully fills the gap between the condenser lens and the PMT window (the photocathode, viewed through the condenser lens, should look uniformly black, with no obvious bubbles or inhomogeneities). Remove lens and add more UV cure adhesive if gap filling is not adequate.
Use UV cure light to cure adhesive through condenser lens. UV (365nm) transmission through lens should be >70%.
UV cement method
Note: applying UV light to cure UV cement will not harm the PMT photocathode. There have been problems when using UV cement with thick layers of cement (few hundred micron), resulting in permanent bubbles present between the lens and PMT, but the strategy below should not have such problems. It is currently untested, however.
A relatively foolproof way to do the PMT condenser lens bonding with UV cement would be to fill the gap between the condenser lens (flat, optical surface) and the PMT window with another piece of glass (index of refraction ~1.5), and then only use thin UV cement layers, like when bonding a doublet lens, between all the glass pieces. Pieces of coverglass would work fine for this. It would just be necessary to find the right thickness of the gap-filling glass, such that there aren't any air gaps, and the condenser lens doesn't have to rise up much beyond its normal seating position (shoulder touching the PMT housing). Two to three #1.5 coverglass pieces ought to do it. After assembling everything dry to test the thickness and fit of the filler, the filler pieces could be cemented to the condenser lens first, and then whole assembly would be cemented to the PMT. Add PMTMountPlate and attach to PMT with screws. Use judgement as to whether condenser lens should be attached to PMTMountPlate with epoxy to stabilize it.
