Model labels: DetChannelAssby:1, DetChannelAssby:2
Assembly instructions
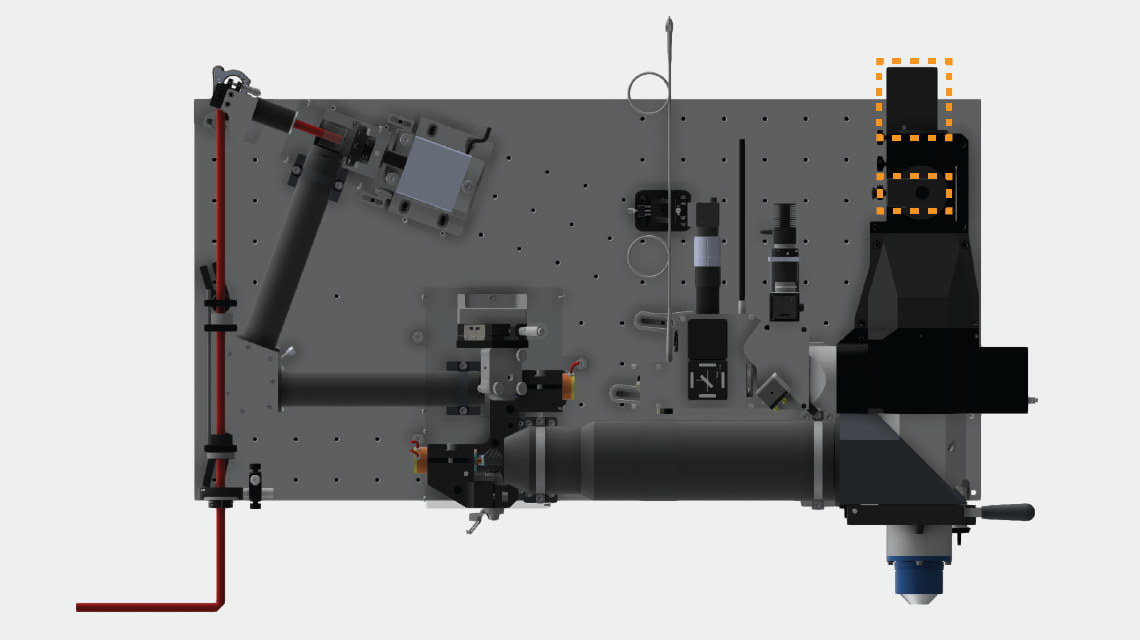
PMT assembly
The goal is to couple the lens onto the PMT face with oil
Seal around the edge of the window that is on top of the PMT photocathode, so that oil can not leak into the body of the PMT, with 5 min epoxy. Be careful not to soil the plate above the photocathode.
Add 30 - 50 ul of microscope immersion oil.
Place condensor lens on oil–touch to oil on one side first so as not to trap large bubble underneath. Make sure there are no bubbles and carefully remove overflow oil from the housing.
Place a thin ring of Kwik-Sil (WPI) on the PMT housing around the lens
Add PMTMountPlate before Kwik-Sil sets, such that sealant squishes between the lens and PMTMountPlate. Hold lens down so that it does not move up while mount plate is being pushed down. Attach PMTMountPlate to PMT with two M3 screws.
Allow ~30 minutes at least for Kwik-Sil to set (oil mixing with Kwik-Sil will interfere with the setting process).
Hold PMT in vise with window side down for several minutes to check if there is oil leakage. Blow gently around seal with canned air to see if there is movement of liquids/uncured Kwik-Sil.
If there is leakage, seal further between the condenser lens and PMTMountPlate using epoxy, or other sealant. It is OK if the sealant touches the face of the condenser lens a couple mm above where this lens meets the edge of the PMT mount plate.
Hold PMT at angle it will be used in microscope (depending on red or green channel) overnight, and check again that oil coverage between the condenser lens and PMT window is intact. There should be no obvious bubbles or inhomogeneities when looking at the photocathode through the condenser lens.