
Model label: BigDetLensHolderAssby
Assembly instructions

DichroMotorBaseAssby

Assembling base plate, screw in bearings, make sure balls do not fall out of carridge
Glue magnets into base plate - make sure poles face in same direction **** INCLUDE PHOTO ***
Glue in rack with 5 min epoxy, push down hard so flush
MovingDichroAssby

Assembling slider & carriage
Motor assembly
Solder motor wires to carriage connector
Mounting of accessory dichoric / mirror (gluing to spider)
Warning! After assembling MovingDichroAssby to DichroMotorBaseAssby, never force the movement of the carriage. The GizmosZone motor can be easily damaged this way.
BigDetLensHolderOnlyAssby

Mounting slider in holder
Mounting lenses (big collection lens and accessory tube lenses)
MotorizedMirrorCoverAssby
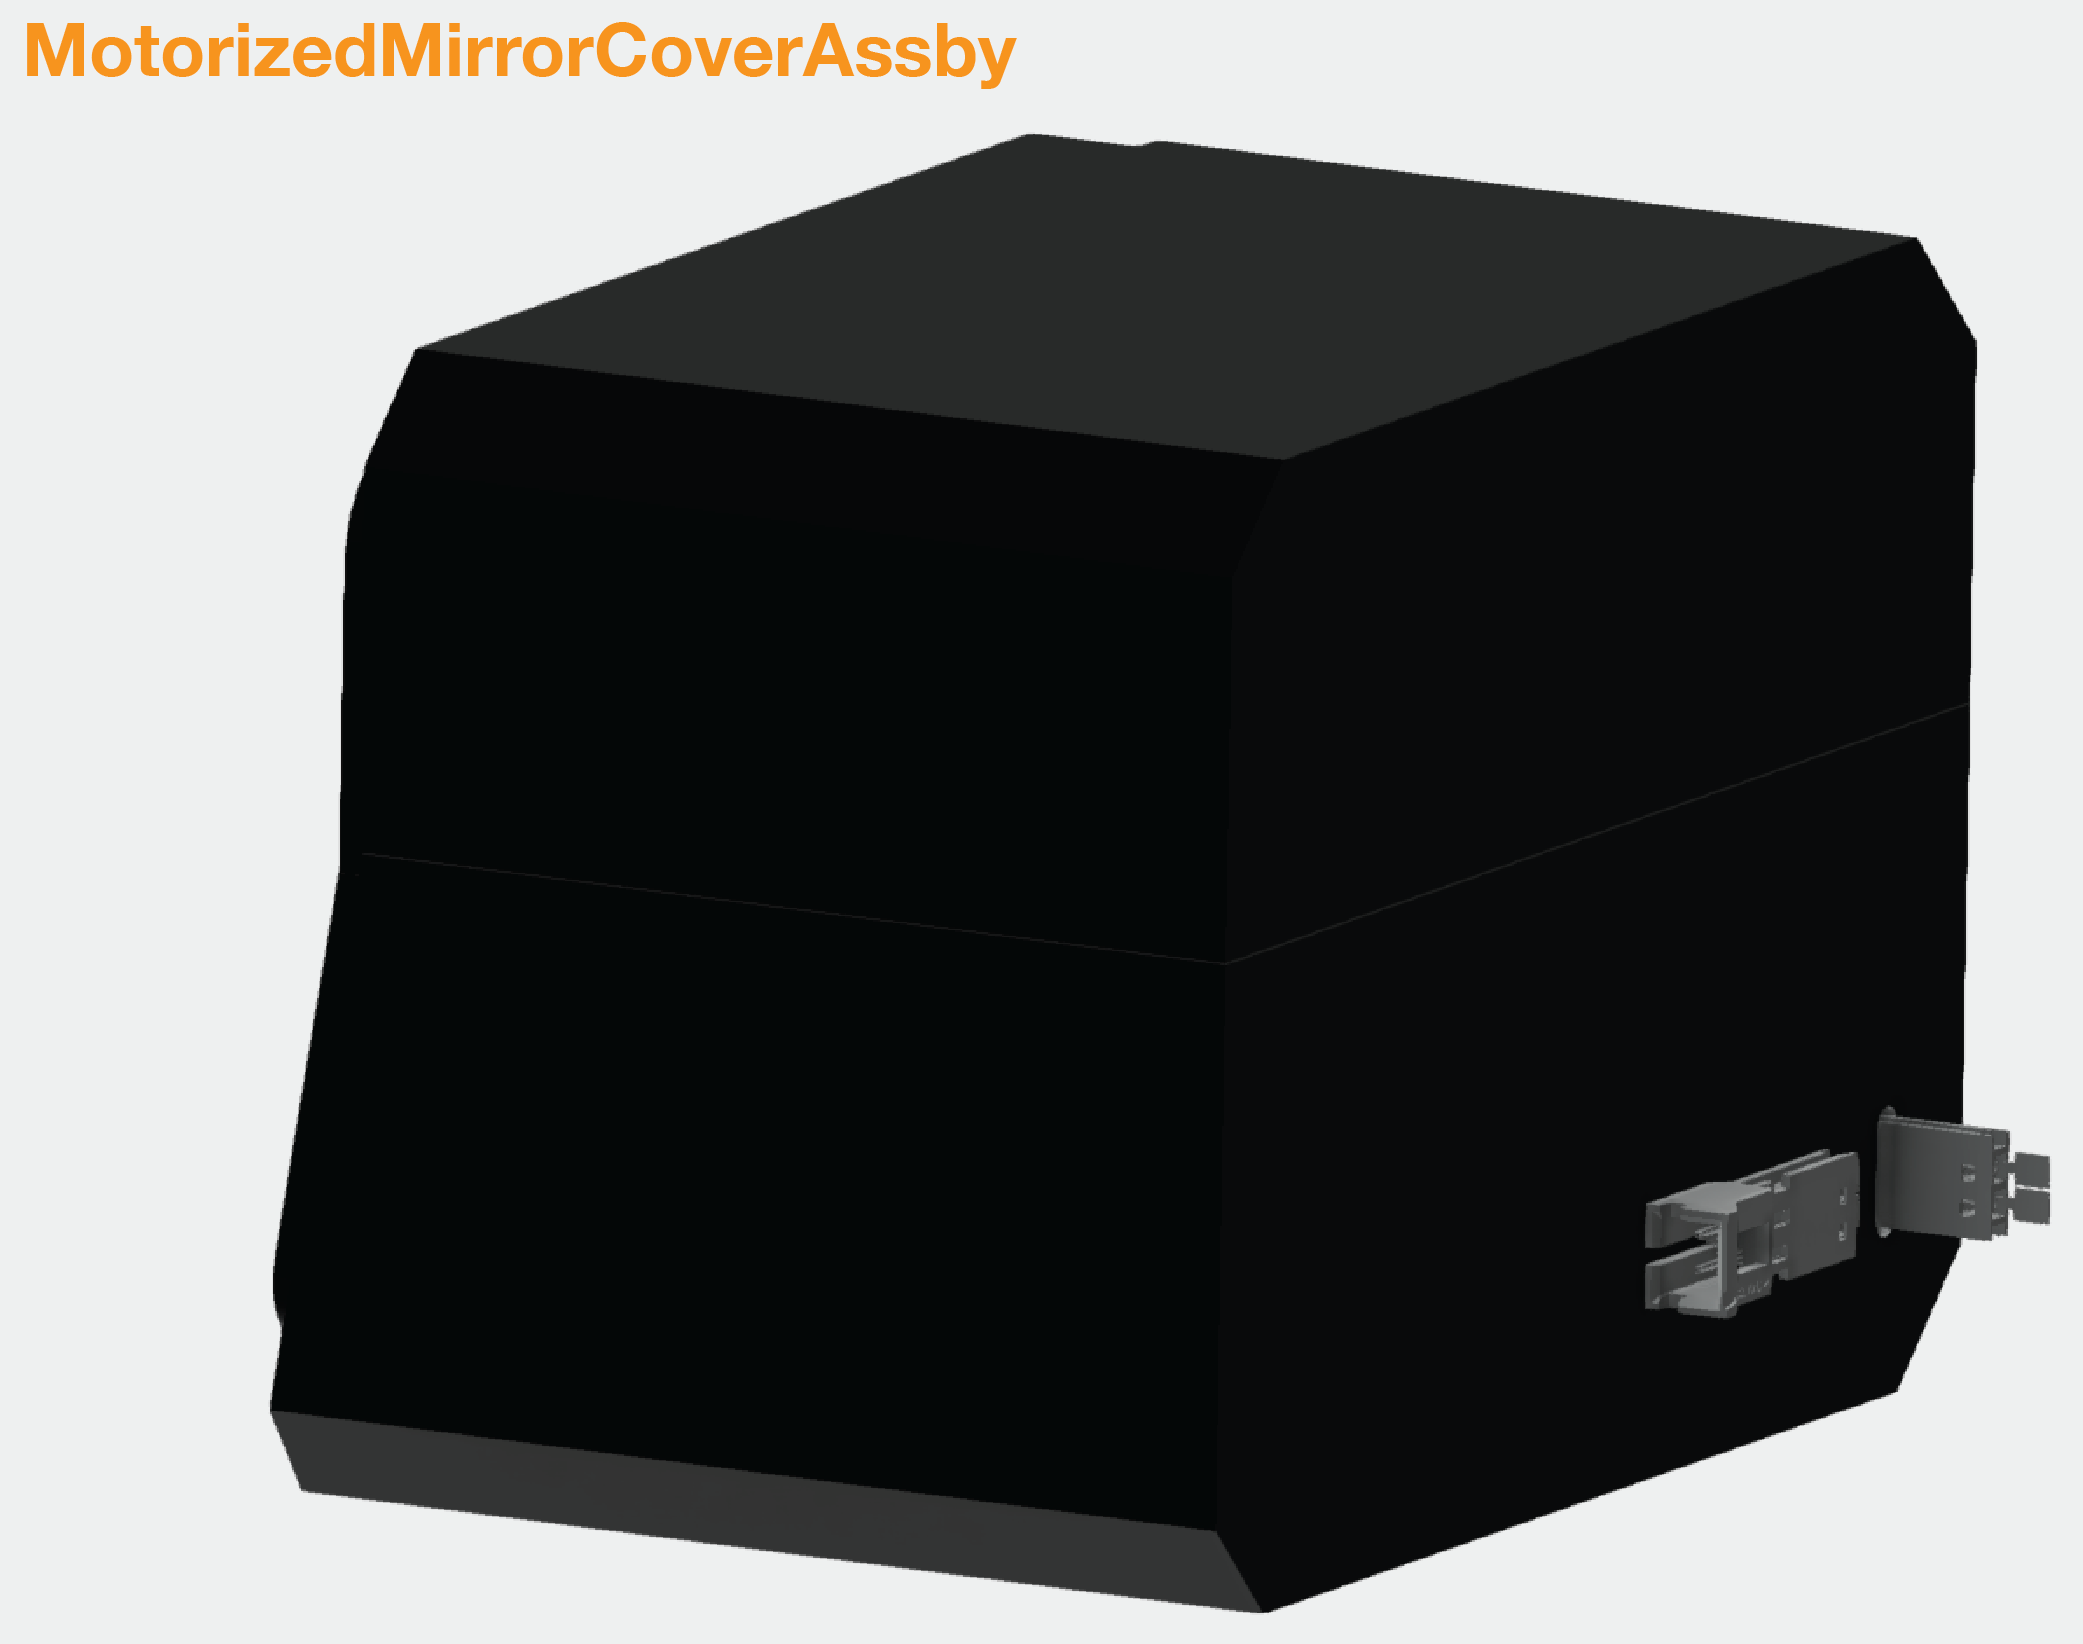
Assemble slider cover
9 Comments
Natalia Orlova
It would be great to have a part list at the beginning of each assembly section. - Natalia
Unknown User (sofroniewn)
Agreed, I can start adding some. If you find yourself making parts lists for each assembly as you are building it would be great if you added them to the wiki too.
Chris Harvey
Our motorized MotorizedMirrorCoverAssby isn't held quite securely enough to the BigDetLensHolder by the magnets. (It seems like the closure holding the two halves of the clamshell together is the culprit.) I've noticed there are a few extra tapped holes in ours. Does anyone have any guidance for a convenient way to get these to hang together? Thanks! - Joe (for the Harvey lab)
Daniel Flickinger
I added a few features to this design right before the workshop (as you've noticed, the magnets don't work at all!), but didn't have all the parts yet to get it working to show everyone. There are a few latches that you'll need, including one custom one that's 3d printed. I'll post a parts list and model file for this in a day or two. We may be able to print the custom latch and send it out to everyone.
Anonymous
Hi Dan, thanks. Should the magnet in the MovingDichroAssby be glued to the backing M5 set screw?
Daniel Flickinger
Yes, the magnet should be glued to the M5 screw. The purpose of this design is to allow an adjustable separation between the magnet in the MovingDichroAssby and DichroMotorBaseAssby. In general, this adjustment isn't very sensitive, and there is a large separation range that will give a force that is strong enough to keep the Moving assembly against the end stops and also be easily overcome by the small motor.
Rob Campbell
Anyone had problems getting the 10 mm set screws (which hold the motor) into the carriage? On the hole nearest the edge, just I see the tip of the set screw appear it becomes very hard to screw it in further. On the other hole I can't even get that far. I don't want to force it, obviously. Should I take the piece to our workshop and get them to re-cut the threads or am I missing something more basic?
Daniel Flickinger
I think that happened to me, at least with just being able to get the tip out. The shop just didn't run the taps down far enough. I'd say that for the screw that you can get the tip out, feel free to force it. There is just a tiny bit of excess metal in the threads and the stainless steel set screw will win out over the aluminum piece and force the thread to work. I think that's what I did. If you get that screw to work, then you can probably forget about the other one. One screw should hold everything together fine. Or, you can get a tap and finish the threads up yourself. I don't recall whether you need a special, long tap...that would be the only issue with that.
Anonymous
Does anyone have photos of what the electrical connector on the carriage should look like?