Model label: ResMirrChamberAssby
Assembly instructions
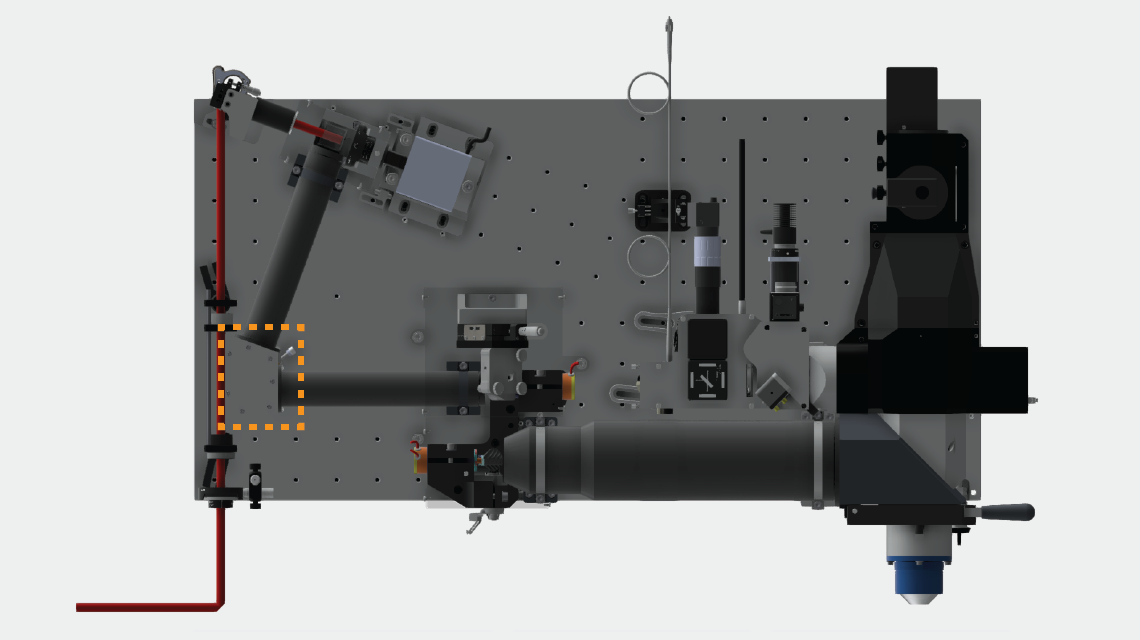
0.5) Modify the resonant mirror chamber to conform to RevA. Use files J003086A.pdf and J003086A.stp. This adds features that will be necessary for aligning the resonant mirror while it is in place on the microscope. (The modification of the bottom holes to be used with flat head screws is less important than the addition of the two #8-32 holes.)
1) Screw in schneeberger slider from underneath, make sure to use the correct length screws so as not to damage stage. Screws must not extend through static stage piece.
2) Add the stop screw, spring plunger, and threaded bushing (remove the lock screw) and lock nut, knob, and screw for positioning the stage.
3) Glue in the CRS resonant mirror cable using a black RTV sealant (Dow-Corning 732 multipurpose sealant), leaving 7" outside of the chamber. Let the glue cure overnight. Alternatively the cable can be glued after the resonant mirror is mounted since the short cable is hard to manage inside the chamber.

5) Slide the body of the resonant scanner inside its mount and then attach the mount to the resonant mirror alignment jig. Adjust the height of the resonant mirror such that the top of the resonant scan mirror is 2.7 mm above the top of the alignment block. The alignment jig itself is unnecessary here, as it is only being used to set the height of the resonant mirror in its mount, which can be done in alternate ways (look at dimensions in DWFX assembly file, for example).

The picture on the left may be ignored. The mirror being cemented on here is unnecessary. The picture on the right shows the resonant mirror being adjusted for height, and approximate angle.
6) Use a fine-tip Sharpie marker or similar to mark the resonant mirror as close as possible to the top of the mount. This will be used to maintain the proper height of the mirror later. Alternate, more accurate methods of doing this are possible. Perhaps adding a thick tape around the body of the resonant mirror, with its edge flush to the top off the mount would work well.

7) At this point the resonant mirror can be mounted in the chamber. This is fairly tricky as it requires management of a fairly short cable and the holder needs to be mounted deep to the bottom of the resonant chamber.
Attach the cable to the mirror. Grab the resonant scanner mount with vice grip and insert into the chamber. The cable has to be trapped under the bottom of the mount - screw to the bottom of the chamber while pushing towards the alignment edge

From Left to right: Resonant mirror in its mount; holding the resonant mirror with vice grip; putting the resonant mirror into the chamber; trick to hold screws with hex key
8) After mounting the mirror make sure to get all of the dust out of the chamber and seal it up with an O-ring and lid. There is no need to screw the lid down now, as it will need to be removed when the chamber is mounted to the vertical breadboard.
The following procedures will need to be completed after the modules are mounted on the microscope breadboard, and after the beam is aligned through the remote focus assembly and roughly collimated afterwards
9) Since the beam should now be aligned with the remote focus objective aperture, and the remote focus mirror should be well aligned, the beam should exit the polarizing beamsplitter cube well-aligned with the axis of PupilRelay1 (not present). Check this by comparing the beam position with the PupilRelay1 v-block end mount, and the entrance aperture of the resonant mirror chamber. The resonant mirror should reflect a small portion of the beam onto the axis of PupilRelay2 (also not present). Check the reflected beam at the output aperture of the resonant mirror chamber, and at the v-block end mount of PupilRelay2. The resonant mirror position can be linearly adjusted using the stage to center the reflected beam on the chamber output aperture. Since the 12 kHz resonant mirror will only have a +/-2.5 deg range (mechanical), the reflected beam should deviates from the PupilRelay2 axis by significantly less than one degree. If the beam angle discrepancy is greater than this, then the angle of the resonant mirror can be adjusted in situ.
10) Using the two #8-32 threaded holes on the side of the chamber (these are RevA features that may need to be added–see top of this page), insert the proper hex key to loosen the screws that clamp the resonant mirror in its flexure mount. Reach into the resonant chamber and twist the resonant mirror main body until the exit beam is sufficiently parallel to the PupilRelay2 axis (<0.5 degree should be OK, as this is ~5% of the total scan range, but lower is better). The resonant mirror will simultaneously need to be kept at the right height in the mount, using the marks made before. The cord at the bottom of the resonant mirror will tend to pull at it, which adds some difficulty. It may be possible to tighten one of the flexure screws just enough to hold the mirror against the cord tension, but allow movement tweaks. Tighten the flexure screws when done, and add #8-32 screw "plugs" to the access holes.
11) Pupil relays 1 and 2 can now be added, by removing and replacing chamber assembly on vertical breadboard.
12) Blow dust out of chamber, and seal with cap and o-ring.